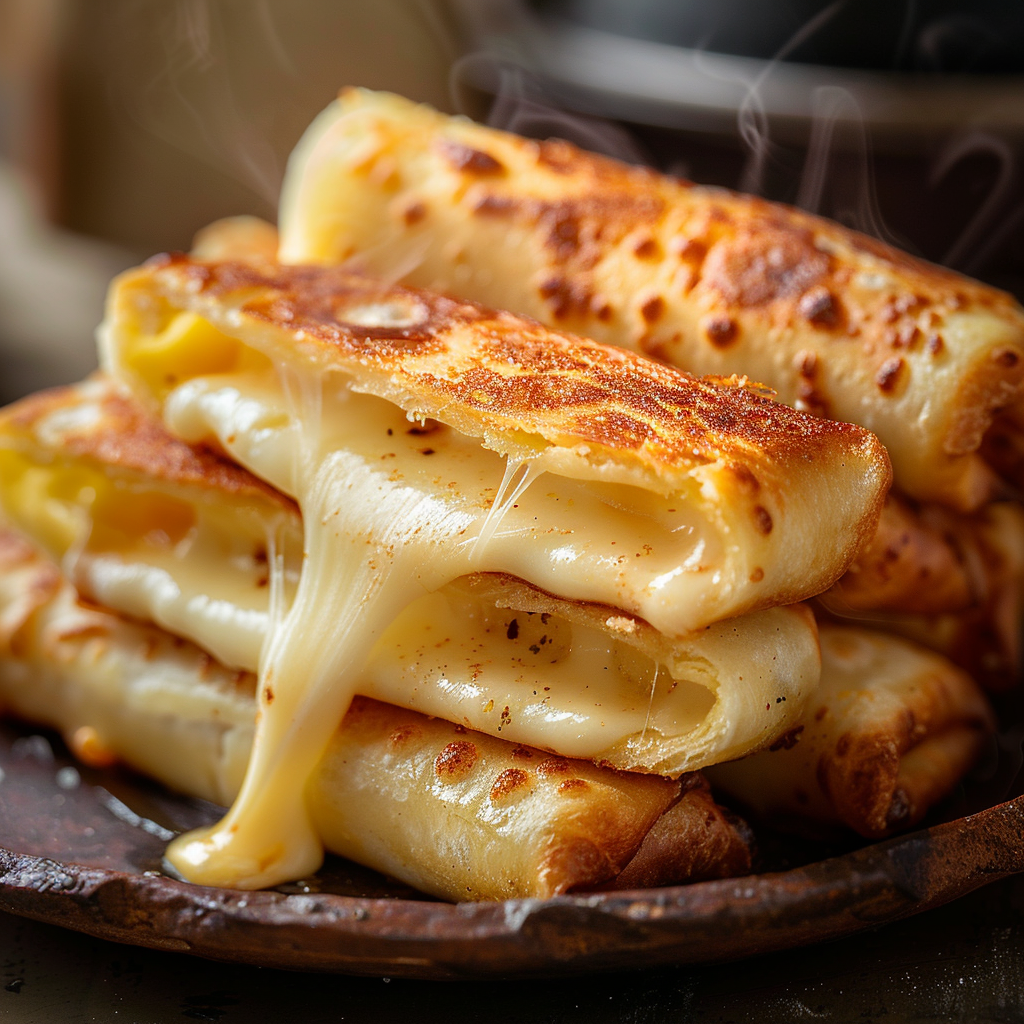
Grilled Cheese Roll-Ups (Easy & Cheesy Snack)
Sometimes the simplest recipes are the ones that bring the most comfort, and Grilled Cheese Roll-Ups are the perfect example. Crispy on the outside, warm and melty on the inside, these fun little roll-ups take everything you love about a classic grilled cheese sandwich and turn it into a playful, crave-worthy snack or meal.
This recipe transforms everyday ingredients into something exciting and irresistible. Soft bread rolled flat, filled with gooey melted cheese, then grilled until golden and buttery—it’s comfort food with a twist. Each bite delivers that familiar cheesy goodness, paired with a satisfying crunch that makes these roll-ups impossible to stop eating.
What makes Grilled Cheese Roll-Ups especially appealing is their versatility. They’re perfect as a quick lunch, an easy dinner for kids, a party appetizer, or a cozy snack for any time of day. They come together fast, use ingredients you likely already have on hand, and require no complicated steps or equipment.
If you love classic comfort food but enjoy fun, creative twists, these Grilled Cheese Roll-Ups are about to become one of your favorite go-to recipes. Simple, nostalgic, and endlessly satisfying, they’re proof that great food doesn’t have to be complicated.
Why You’ll Love It
Grilled Cheese Roll-Ups are everything you love about classic comfort food—made even better with a fun, modern twist. They’re crispy, cheesy, and incredibly satisfying, yet simple enough to make any day of the week. If traditional grilled cheese sandwiches are a favorite in your home, these roll-ups will quickly become a new obsession.
One of the biggest reasons to love this recipe is how quick and easy it is. With just a few basic ingredients and minimal prep, you can have a warm, melty snack or meal ready in minutes. There’s no complicated technique involved, which makes it perfect for busy weekdays, last-minute snacks, or cooking with kids.
These roll-ups are also extremely versatile. You can keep them classic with just cheese or customize them with fillings to suit different tastes. They work as a quick lunch, a kid-friendly dinner, a party appetizer, or even a comforting late-night snack.
Most importantly, they’re fun to eat. The rolled shape makes them perfect for dipping, sharing, and serving in creative ways—bringing a playful touch to a timeless favorite.
Ingredients + Tips
Main Ingredients
-
Sandwich Bread
Soft white or wheat sandwich bread works best. Fresh bread rolls more easily without cracking. -
Cheese
American, cheddar, mozzarella, or a blend of cheeses melt beautifully. Choose cheeses that melt well for the best results. -
Butter
Butter gives the roll-ups their golden, crispy exterior and classic grilled cheese flavor.
Optional Add-Ins
-
Deli ham or turkey
-
Cooked bacon
-
Pepperoni slices
-
Thinly sliced veggies
Pro Tips
-
Trim crusts for easier rolling and a cleaner look.
-
Use a rolling pin to flatten bread evenly.
-
Don’t overfill—too much cheese can leak while cooking.
-
Cook over medium heat to avoid burning before cheese melts.
Steps (Crispy Roll-Ups & Melty Center)
Step 1: Prep the Bread
Remove crusts from bread slices. Use a rolling pin to flatten each slice until thin and flexible.
Step 2: Add the Filling
Place cheese (and any add-ins) near one edge of the bread.
Step 3: Roll Tightly
Roll the bread tightly around the filling, sealing the edge gently.
Step 4: Butter the Roll-Ups
Lightly butter the outside of each roll-up for even browning.
Step 5: Cook Until Golden
Heat a skillet over medium heat. Cook roll-ups seam-side down first, rotating until all sides are golden and cheese is melted.
Step 6: Serve Warm
Remove from heat and serve immediately while the cheese is gooey.
Variations
Grilled Cheese Roll-Ups are endlessly customizable.
-
Pizza Roll-Ups
Add pepperoni and mozzarella, then serve with marinara. -
Ham & Cheese
A classic combo that adds protein and flavor. -
Sweet Version
Use cream cheese and fruit preserves for a dessert-style roll-up. -
Garlic Butter Roll-Ups
Mix garlic powder into butter for extra flavor. -
Air Fryer Option
Cook at 375°F for 5–7 minutes, turning once.
Each variation keeps the cozy base intact while offering a new way to enjoy the recipe.
Storage & Reheating
Storage
Allow roll-ups to cool completely before storing in an airtight container. Refrigerate for up to 2 days.
Reheating
Reheat in a skillet or air fryer to restore crispiness. Avoid microwaving, as it softens the bread.
Freezing
Roll-ups can be frozen before cooking. Freeze individually, then cook directly from frozen, adding a few extra minutes.
Serving Suggestions
Grilled Cheese Roll-Ups pair perfectly with classic sides and dips.
-
Tomato soup
-
Marinara sauce
-
Ranch or garlic dip
-
Fresh fruit or salad for balance
Serve them cut in half for easy dipping or leave whole for a fun handheld option.
Grilled Cheese Roll-Ups
Ingredients
Method
- Remove crusts from bread slices. Use a rolling pin to flatten each slice until thin.
- Place one slice of cheese near one edge of each bread slice. Add optional fillings if using.
- Roll bread tightly around the cheese, sealing the edge gently.
- Lightly butter the outside of each roll-up.
- Heat a skillet over medium heat. Place roll-ups seam-side down and cook until golden.
- Rotate roll-ups to brown all sides evenly until cheese is melted.
- Remove from heat and serve warm.
Final Thoughts
Grilled Cheese Roll-Ups are proof that comfort food doesn’t need to be complicated to be memorable. By taking a classic grilled cheese sandwich and giving it a playful twist, this recipe delivers familiar flavors in a fun, shareable form that everyone loves.
What makes these roll-ups truly special is their simplicity. With just bread, cheese, and butter, you can create something warm, crispy, and deeply satisfying. They’re perfect for busy days when you want something homemade without spending much time in the kitchen.
These roll-ups are also incredibly flexible. Whether you keep them classic, load them with savory fillings, or turn them into a sweet treat, they adapt easily to your cravings and ingredients on hand. That versatility makes them a valuable go-to recipe for families, parties, and everyday meals.
Most importantly, Grilled Cheese Roll-Ups bring a sense of fun to the table. They’re easy to eat, perfect for dipping, and loved by kids and adults alike. Serve them fresh and hot, enjoy the melty center and crispy exterior, and don’t be surprised if they disappear faster than expected.
Once you try them, these roll-ups are sure to become a regular favorite—simple, nostalgic, and endlessly comforting.